Electrical Troubleshooting: Step-by-Step

Electrical troubleshooting is the process of diagnosing and fixing problems in power systems, circuits, or components. It involves testing, identifying faults, and restoring safe, reliable operation in residential, commercial, or industrial settings using specialized tools and expertise.
What is Electrical Troubleshooting?
Electrical troubleshooting is the methodical approach to detecting and resolving faults in power systems.
✅ Identifies and fixes wiring, circuit, and equipment issues
✅ Restores system safety and operational reliability
✅ Applies diagnostic tools for fast fault detection
Visit Our Electrical Troubleshooting Training Course
It is a crucial skill for diagnosing and resolving energy issues in various systems. Whether it involves a tripped circuit breaker, faulty wiring, or malfunctioning equipment, this process saves time, enhances safety, and prevents further damage to power systems. Workers must be proficient in identifying and solving power faults, which is key to maintaining operational efficiency and ensuring workplace safety. Learn how to perform accurate fault detection with our guide on How to Use a Digital Multimeter, a key tool in power system maintenance.
Common Causes of Power Problems
Problems often arise from a range of sources, including tripped circuit breakers, short circuits, and defective components. Circuit breakers are designed to protect power circuits from overloads by automatically cutting off the flow of electricity when a fault is detected. When a breaker trips, it is one of the most common causes of power issues, leading to interruptions in the power circuit. Workers must thoroughly inspect the breaker and surrounding wiring to identify potential faults and restore functionality.
Short circuits are another frequent cause of many problems. A short circuit occurs when electricity flows along an unintended path, bypassing the proper load. This not only damages components but can also pose serious safety risks. Workers must use a combination of tools and experience to trace the source of the short circuit and repair the system. Our Electrical Testing section explains how testing methods support maintenance and ensure system integrity.
Troubleshooting for Specific Systems
Electrical troubleshooting methods can vary significantly depending on the type of system involved. Each system presents unique components, failure modes, and safety considerations. Below are examples of how troubleshooting is applied in different environments.
Motors
Motors are central to industrial operations and require careful analysis of both power and control circuits. Technicians typically:
-
Check for three-phase voltage balance and continuity
-
Inspect motor windings with insulation resistance testers
-
Test start/stop circuits and contactors
-
Monitor for overheating, vibration, or noise
Troubleshooting motors often involves verifying overload protection settings and ensuring that all three power legs are properly energized.
Lighting Circuits
Lighting failures can stem from simple issues like burned-out bulbs or more complex wiring problems. Common steps include:
-
Testing wall switches and dimmers
-
Inspecting for loose connections at fixtures and junction boxes
-
Using voltage testers to verify live conductors
-
Checking for flickering caused by shared neutrals or poor grounding
Lighting systems also demand attention to load ratings and proper ballast operation in fluorescent or HID fixtures.
HVAC Systems
HVAC troubleshooting integrates both electrical and mechanical diagnostics. Since these systems rely on thermostats, relays, and compressors, electricians often:
-
Test control voltages and low-voltage transformer outputs
-
Inspect contactors, capacitors, and motor windings
-
Confirm power supply to blower motors and compressors
-
Use clamp meters to monitor current draw and identify overload conditions
HVAC systems require a comprehensive understanding of control logic and safety interlocks, especially in rooftop units or complex building automation systems.
Real-World Electrical Fault Examples and Diagnostic Steps
Electrical faults can occur in many forms, from equipment malfunction to circuit failure. Below are three common scenarios with step-by-step troubleshooting approaches to help isolate and resolve issues effectively.
Dead Wall Outlet in an Office
Problem: A computer workstation suddenly shuts off, and the outlet no longer provides power.
Troubleshooting Steps:
-
Check if other outlets on the same circuit are also dead.
-
Inspect the electrical panel for a tripped circuit breaker and reset it if needed.
-
Use a multimeter to test for voltage at the outlet.
-
If voltage is absent, remove the cover and check for loose wires or burned terminals.
-
Trace wiring back to the previous live outlet or junction box to identify breaks in continuity.
Resolution: A loose neutral wire in a junction box upstream was found and secured, restoring power to the outlet.
Three-Phase Motor Won’t Start in a Manufacturing Line
Problem: A production motor fails to start when engaged from the control panel.
Troubleshooting Steps:
-
Verify that control signals from the start button and contactor are functioning.
-
Use a multimeter or clamp meter to check incoming voltage on all three phases.
-
Inspect motor leads for continuity and signs of insulation breakdown.
-
Confirm overload relay settings and test fuses in the motor starter.
-
Measure resistance across motor windings to rule out internal faults.
Resolution: One phase was found to have an open fuse, causing a single-phasing condition. Replacing the fuse restored proper operation.
Intermittent Lighting Failure in Commercial Building
Problem: Overhead lights flicker randomly throughout the day in one section of a building.
Troubleshooting Steps:
-
Observe when and where flickering occurs to determine a pattern.
-
Test voltage at the lighting panel and branch circuits during operation.
-
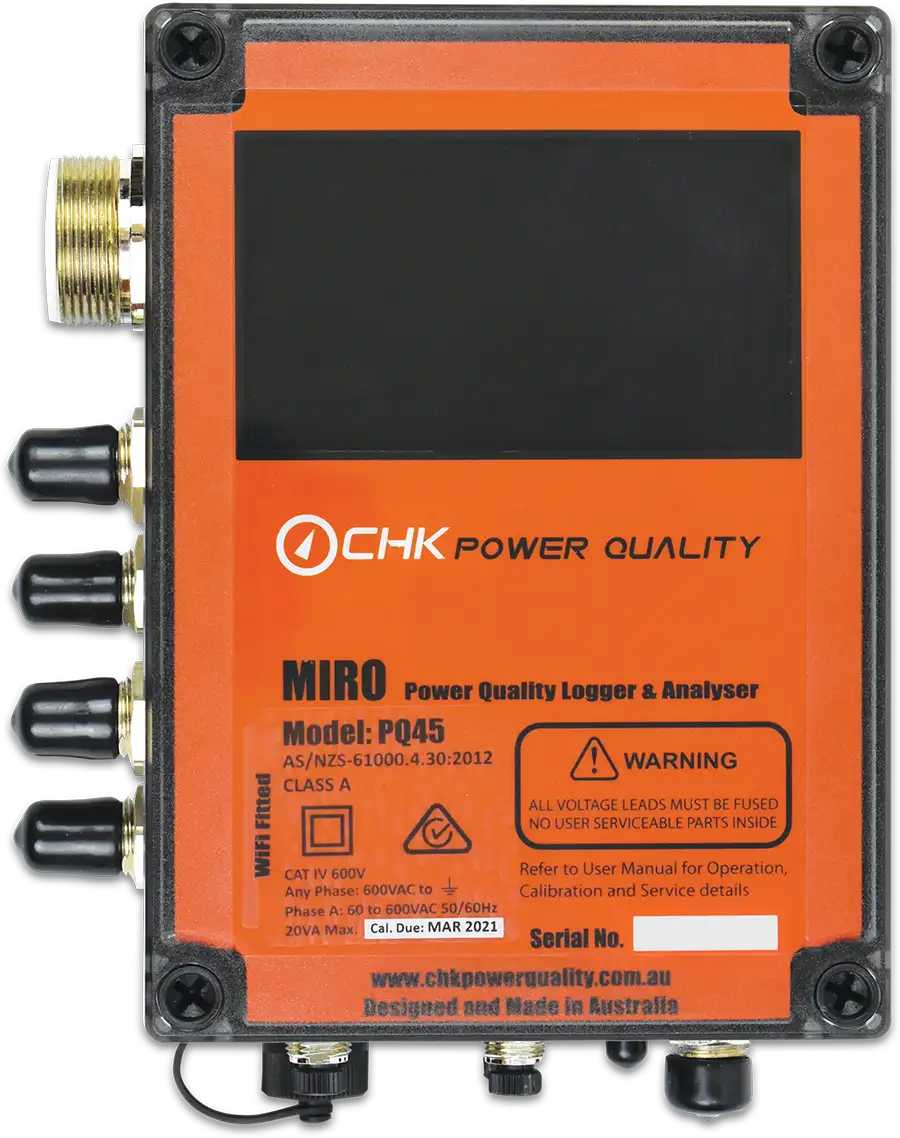
Use a data logger or power quality analyzer to check for voltage drops or spikes.
-
Inspect wiring and connections at affected fixtures and switches.
-
Check neutral connections and grounding integrity.
Resolution: A corroded neutral connection in a junction box was causing unstable voltage. Cleaning and tightening the connection eliminated the flickering.
Using a Multimeter for Troubleshooting
A multimeter is an essential tool in testing and inspecting. It measures voltage, current, and resistance, helping workers diagnose faults in power circuits. By testing different points in a circuit, a multimeter can detect irregularities in power flow that may indicate a wiring problem or a faulty component. This systematic approach allows workers to identify the problem area and implement the appropriate repairs accurately. Whether it’s a short circuit or an issue with a specific device, a multimeter helps save time and prevent guesswork during the diagnosing process.
Safety Precautions
Safety is paramount in diagnosis, as even minor mistakes can lead to serious injuries. Before beginning any diagnostic work, it is vital to turn off the power supply to the affected area. Workers should always wear proper personal protective equipment (PPE), such as insulated gloves and safety goggles, to minimize the risk of arc flash and shock. Additionally, using insulated tools and following established safety guidelines can prevent accidents while testing and inspecting power systems. Explore our Preventive Maintenance Training resources to reduce equipment failure and improve reliability.
Identifying Faulty Components
Faulty components, such as damaged wiring, defective light bulbs, or worn-out parts, can cause a variety of power problems. When diagnosing potential problems, workers should conduct both a visual inspection and multimeter testing to detect issues. Signs of wear, discoloration, or physical damage often point to the need for replacement. Once the faulty component is identified, replacing it promptly can prevent further damage and restore the proper functioning of the system.
Best Practices
To ensure accuracy and efficiency, following best practices is essential during the testing and diagnosing process. Workers should start by using schematic diagrams to understand the layout of the power circuit, helping them trace the connections and identify potential faults. Systematic testing, starting with simpler checks and progressing to more complex procedures, can also help eliminate possible causes one by one.
Documenting the findings at each step is crucial, as it allows workers to track patterns and recognize recurring issues. This not only assists in the immediate repair but can also provide valuable insight for preventive maintenance.
Preventing Power System Interruption and Failure
Regular preventive maintenance is key to avoiding frequent problems and prolonging the life of power systems. Scheduling routine inspections, replacing worn-out components, and addressing minor issues before they escalate can minimize the need for frequent testing. By adopting a proactive approach, workers can ensure the reliability and safety of systems while preventing costly downtime.
Related Articles
On-Site Training
Interested in cost effective, professional on-site electrical training?
We can present an Electrical Training Course to your electrical engineering and maintenance staff, on your premises, tailored to your specific equipment and requirements. Click on the link below to request a Free quotation.